
By Corey Frey, Pattern Design Manager, DigiCut
If you’ve ever laid down a template that looked perfect on screen and then watched it come up short, or hang over the edge of a panel, you know exactly how that moment feels. You checked the file. You trust the pattern. So, what happened?
In almost every case, the culprit is plotter calibration.
The short answer
Most sizing issues trace back to how a plotter interprets a digital file when it translates that file into a physical cut. A machine that hasn’t been calibrated recently can drift on scale, sometimes by a small percentage that barely shows up on a monitor but becomes a real gap or overlap once the material hits the vehicle. Calibrating your plotter inside the DigiCut software takes a few minutes and solves the problem at the source.
How our templates are actually built
This is worth clearing up, because a lot of installers assume templates come straight from manufacturer measurements or CAD files. They don’t. Every pattern in our library starts as a hand cut template that our design team physically installs on a real vehicle before it’s ever released. We see the curves, the seams, and the trim quirks in person, and we build the pattern around what’s actually there. When a template feels off, the file itself is rarely the reason. Calibration is almost always the first thing to check.
Which plotters we see this with most
We track sizing feedback closely, and 78 percent of it comes from shops running U.S. Cutter, Titan, Workhorse, Saga, and Mimaki plotters. These five machines are common across the industry, and they tend to go the longest stretch between calibration checks, which is likely why they show up so often. If your shop runs one of these, add a calibration check to your regular maintenance routine instead of waiting for a template to cut wrong first.
Calibrating your plotter in four steps
- Cut a calibration square using the built-in calibration tool in the DigiCut app.
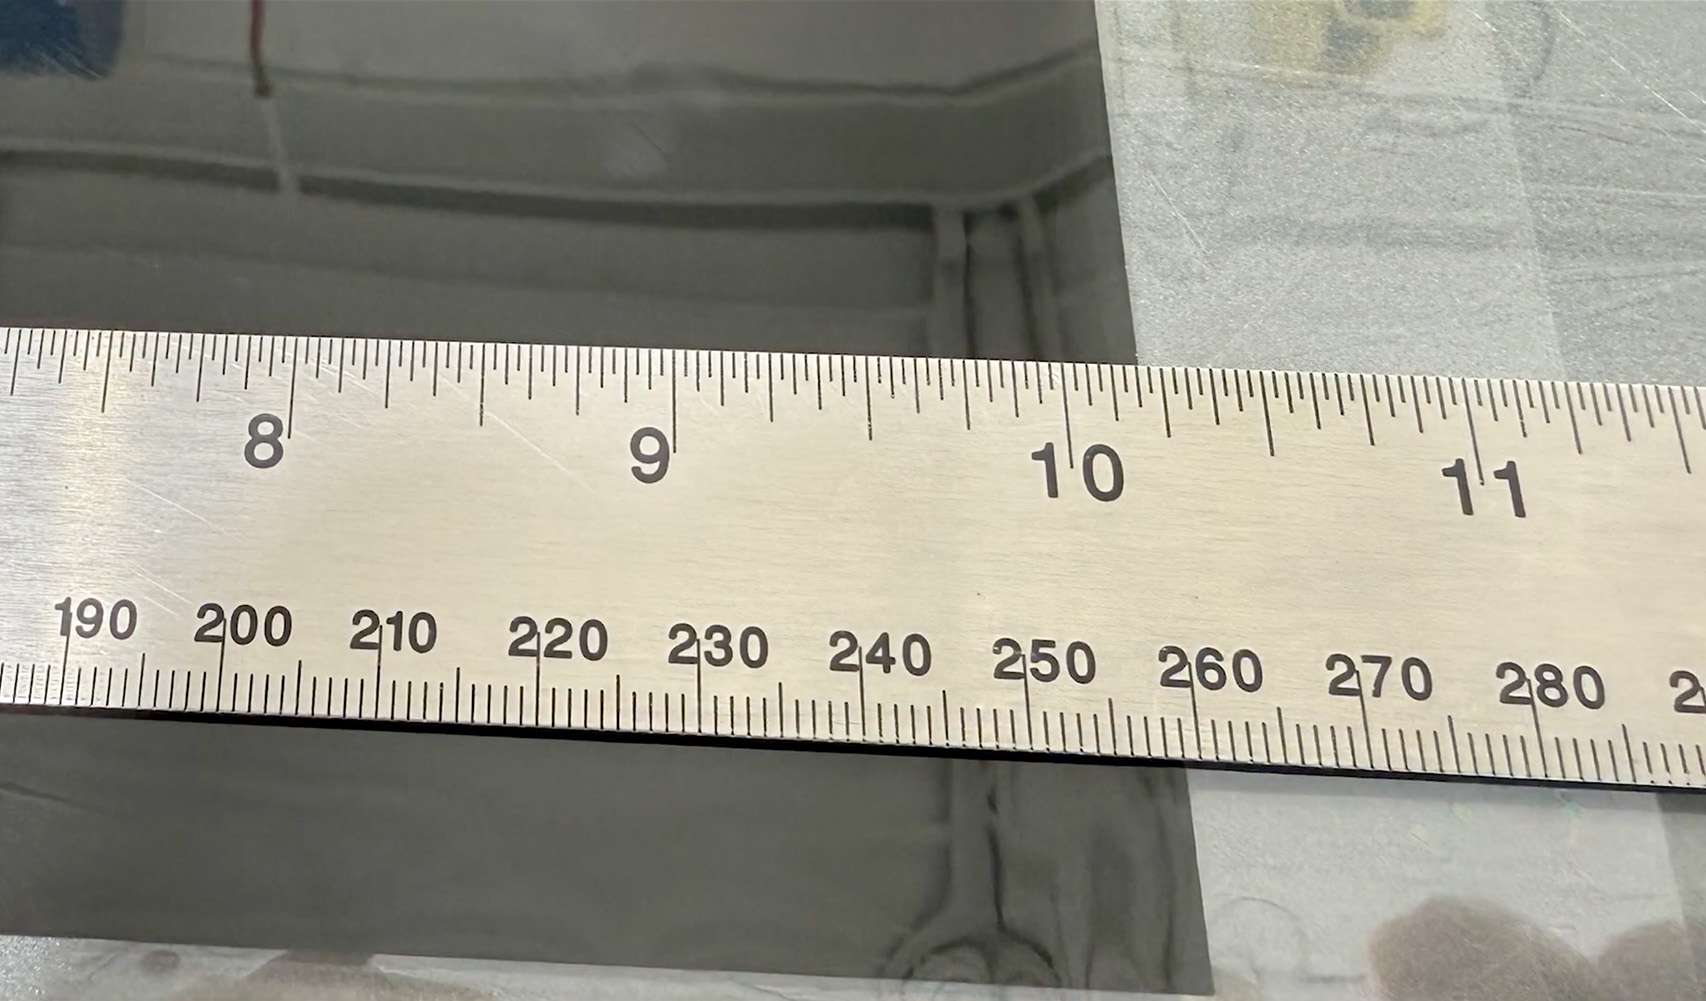
- Measure the length and width of the cut piece with a tape measure or ruler.
- Enter those measurements back into the software.
- DigiCut adjusts your plotter’s scaling so future templates cut true to size.
Run this check any time you switch materials, move your plotter, or notice a pattern that feels slightly off. It’s a small habit that saves material and install time down the road.
Why getting the size right matters
Length and width accuracy affects more than a clean first fit. A pattern that runs even a few millimeters short can leave gaps at the trim line where tint or film starts lifting months later. A properly calibrated cut protects the life of the install as much as it protects your material budget, which matters whether you’re a shop running templates all day or an end user who wants a wrap or tint job to hold up for years.
Still seeing sizing issues?
Give our team a call at 1-800-452-7311 or watch our short walkthrough video on plotter calibration here. Most sizing problems are a quick fix once you know where to look. You can also check out our Support page for more.